Tuesday, July 10, 2012

We finally have an identity

There are times when privacy and seclusion are good things.  There are other times when you'd like to help folks find your house.  Like when guests are coming over, or the UPS delivery guy has a package for you, or a customer is trying to find your place of business.  As far as we can tell, folks have been having trouble identifying our house for over 50 years, since we have no indication house numbers ever adorned our abode.

We chose these 5-inch-tall, stainless steel numbers powder coated in dark bronze hoping that they would coordinate well with the other craftsmanish features of the house.  Designed to stand off the wall about a quarter inch, we've anchored them in the stone between our two front doors.

Before.

After.

Can't see the numbers very well in this photo?  Come on over and see for yourself, up close and personal!

Wednesday, July 4, 2012

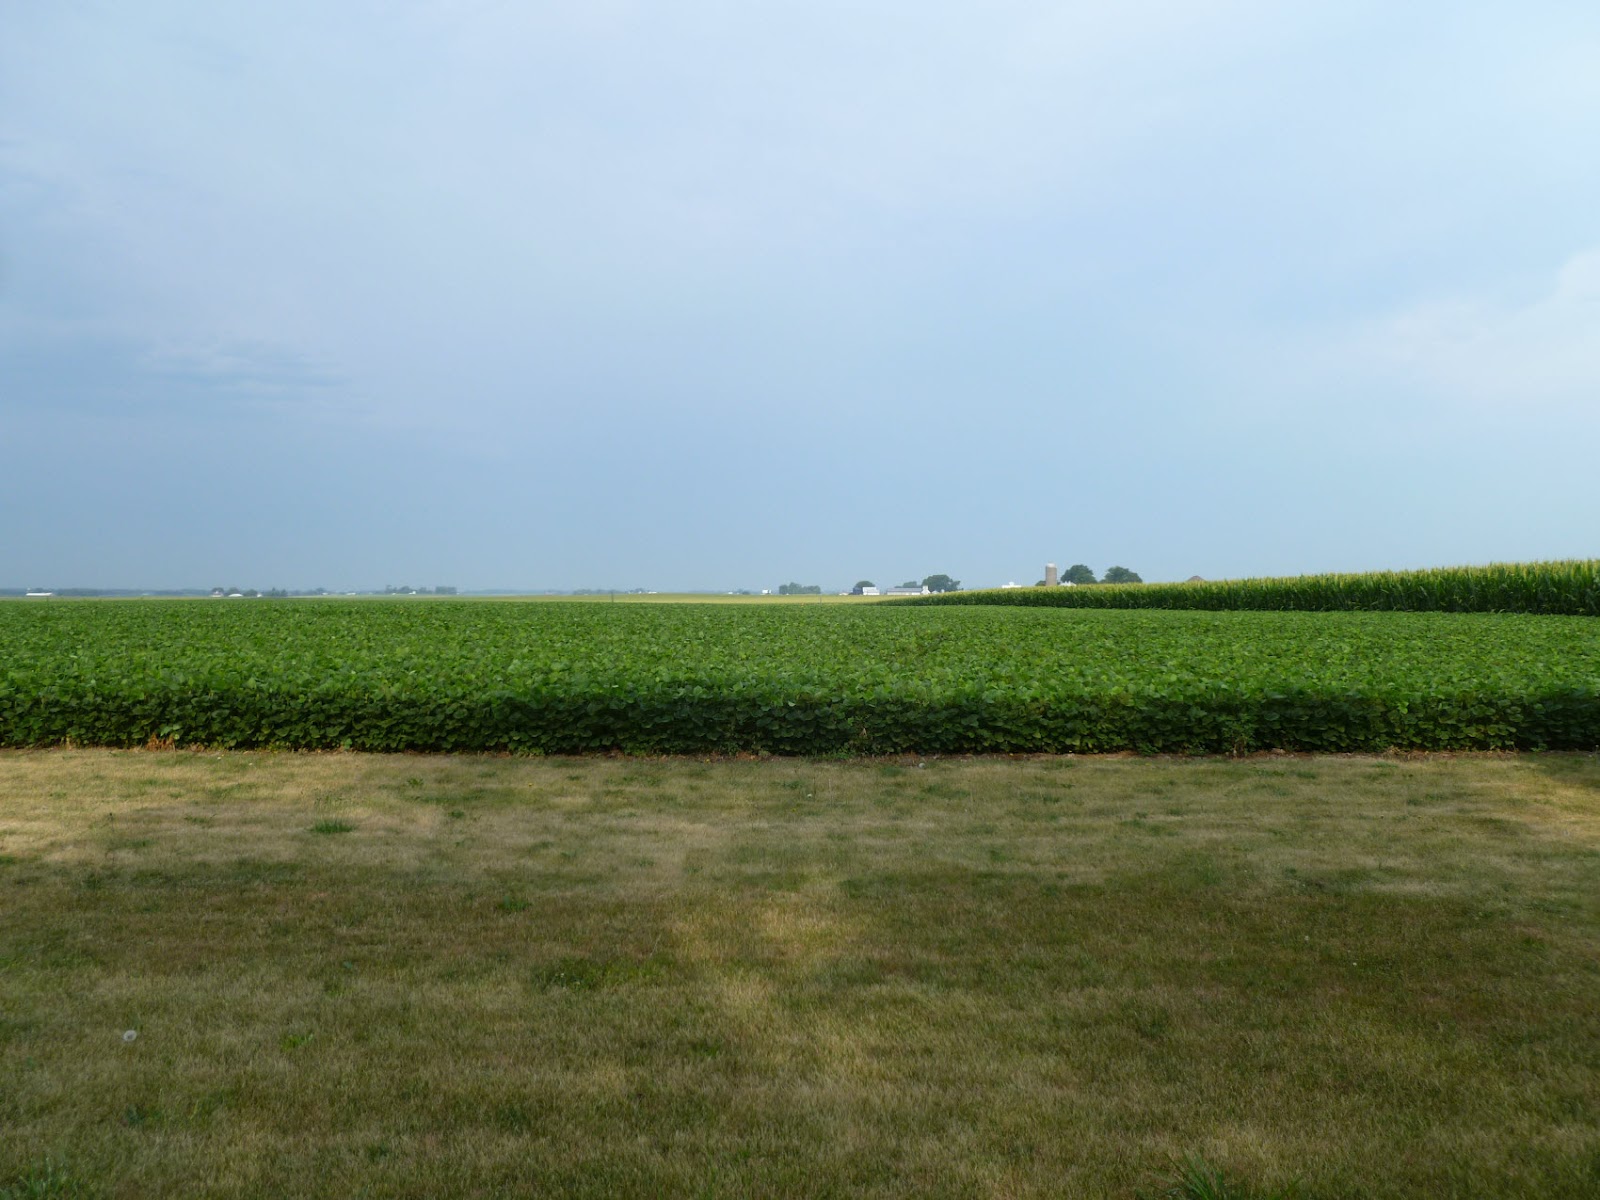
Beans in the backyard 2012, week 9

July 1

Most of the plants measured 25 inches tall on this day, and I counted at least nine fully emerged trifoliolates with more developing.

In this photo we can see blooms developing on the upper nodes of the plant, and I observed blooms on all the other nodes as well as most (all?) of the branches.  My sources inform me that the plants should continue to gain height, foliage, blooms, and eventually pods.  We'll keep watching and strive to keep you informed of all the developments.

Thursday, June 28, 2012

My battles with Japanese beetles

I suspect they've been around for awhile, but I really didn't notice the Japanese beetles in our area until two years ago.  That was when I noticed the leaves at the top of the cherry tree seemed to be turning brown in the middle of summer.  I'd seen other trees suffer that fate, but since they weren't in my yard, I ignored whatever had caused the devastation.  When MY cherry tree seemed to get worse every day, I finally investigated.  I was horrified to find hundreds, perhaps thousands of beetles slowly eating the life out of my tree!

My research that year convinced me to spray the tree with Sevin, especially since all the cherries had been harvested weeks earlier.  It was satisfying to see all the bugs lying dead on the ground just days later, but I realized this war would probably have many battles over many years.

The next year, I noticed the beetles were attracted to several plants in our yard, specifically: the cherry tree, raspberry plants, only one of our three maple trees, and hops bines.  I sprayed all the affected plants except the maple with Sevin, and was generally pleased with the results, but something about spraying chemicals on food plants made me uncomfortable.

This year, I changed my strategy.  I'd seen my neighbors catching a lot of bugs in their traps, and after weighing the pros and cons, I decided to join them.  Of the two or three choices at Menards, I chose the Spectracide Bag-A-Bug Japanese Beetle Trap.  The bait contains a sex attractant and a floral lure that the folks at Spectracide assure me is hard for beetles to resist.

This is the way the product looks assembled and hung from the stairs at the back of our barn.  Notice the plumpness of the bag toward the bottom, indicating lots of beetles are congregating there stupefied and unable to escape.  Evidently these flying beetles are not successful at locating the opening at the top of the bag.  Oh well, that just makes the trapping job easier.

Every day I empty the bag into a 5-gallon bucket containing a gallon or less of soapy water.  This image shows one day's harvest from my one trap after soaking over night.  I haven't counted all of them in this image, but I estimate there are over 1,000 beetles visible, and who knows how many underneath this top layer.  The bugs secrete a brown, sticky liquid that makes the trap bag messy and turns soapy water brown. It also stinks with a potency that is hard to wash off your hands.  I made that mistake once.  Now I use gloves when I'm going to touch the bag so I don't spend the rest of the evening washing stink off my hands!

Because these traps attract Japanese beetles, they shouldn't be located right next to a plant you're trying to protect.  Spectracide recommends at least 30 feet separation, and our trap is about that distance from the cherry and raspberry plants.  Those seem to be protected pretty well this year, although I do occasionally find beetles on both plants.  I remove those bugs when I see them, which tends to prevent others from congregating there also.  One source I read claims the beetles can smell a leaf that is being eaten, so they tend to gather together on the same plants.  Recently, I noticed a few dozen beetles on our small basil plant, and once I removed them I haven't seen any others on the plant since.

Criticized for drawing more beetles to your property, I think this style trap comes out far ahead in removing pests from your plants.  The damage I see on our plants this year is probably comparable to what I saw last year when I sprayed with Sevin at the first sign of infestation.  I'll continue to monitor and empty the trap faithfully, as I'm interested to see if the trap continues to be effective through the rest of the summer.

Monday, June 25, 2012

Beans in the backyard 2012, weeks 6, 7 & 8

 June 10

The plants I examined had attained five trifoliolates fully emerged by June 10.  If you look closely, you can see spots on the leaves from the herbicide that was applied a few days earlier.  Some of the other plants are showing more severe reactions to the herbicide, but obviously all the weeds hadn't died yet.

 June 17

Six trifoliolates had emerged by June 17, and more of the weeds had surrendered to the herbicide.

 June 24

These pictures look a little different because they were taken in the evening instead of the normal morning shots.  I counted eight fully emerged trifoliolates this week.  One can also observe damage to many of the upper leaves caused by Japanese Beetles, which were also present for this photo on some of the upper leaves.

Probably more significant this week is the presence of these blossoms.  By my amateur estimation, it appears that the plant is now in the first reproductive stage.  Things are really getting exciting now!

Saturday, June 16, 2012

Main bath remodel: conclusion

Finally, a few before-and-after photos to give you a sense of our remodeled main bath now that the work is complete.  I encourage you to click on the photos so you can see more detail in the enlarged versions.

After.  Now that I look at these photos, I'm a little startled that there is very little left in the room that has not been replaced.  The stained glass panel in the window, and the register on the forced-air vent in the floor are the only "old" items I can see in this view.

Before. 

After.  I didn't expect to replace the toilet, but since its performance declined following re-installation in the new room, it found a new home in the landfill.

Before.

After. The new window seems larger than the old one even though it fit in the same hole in the wall.  The glass area is bigger since this window has a fixed pane instead of the double hung design we had previously.  Note: the ceiling light in the middle of the room is the same one we installed a few years ago, only mounted on a new ceiling!

Before.

After. Even though the mirror and the cabinets came from different sources, I think they match close enough for our purposes.  Both are quarter sawn oak with similar finishes.

Before.

After. A new door to match the other doors in the house that have been replaced since we moved in.  This shot also shows the new trim that matches the other trim in the house that was replaced before we moved in.

Before.

After.  Everything is new in this shot including the plumbing behind the walls.  We chose subway tile for the bottom courses, a chair rail, and harlequin tile for the top.  You can see the tile shape a little more clearly in the enlarged view of the photo.

Before.  Probably the most painful part of the project was throwing out this tile that we installed five years ago before we moved in.

After.  One last shot of the cabinets, sink, mirror, and window.  Call us what you like, we rather prefer the new bathroom to the old one.

(Previous posts on this project: part 1, part 2 and part 3).