Saturday, October 11, 2014

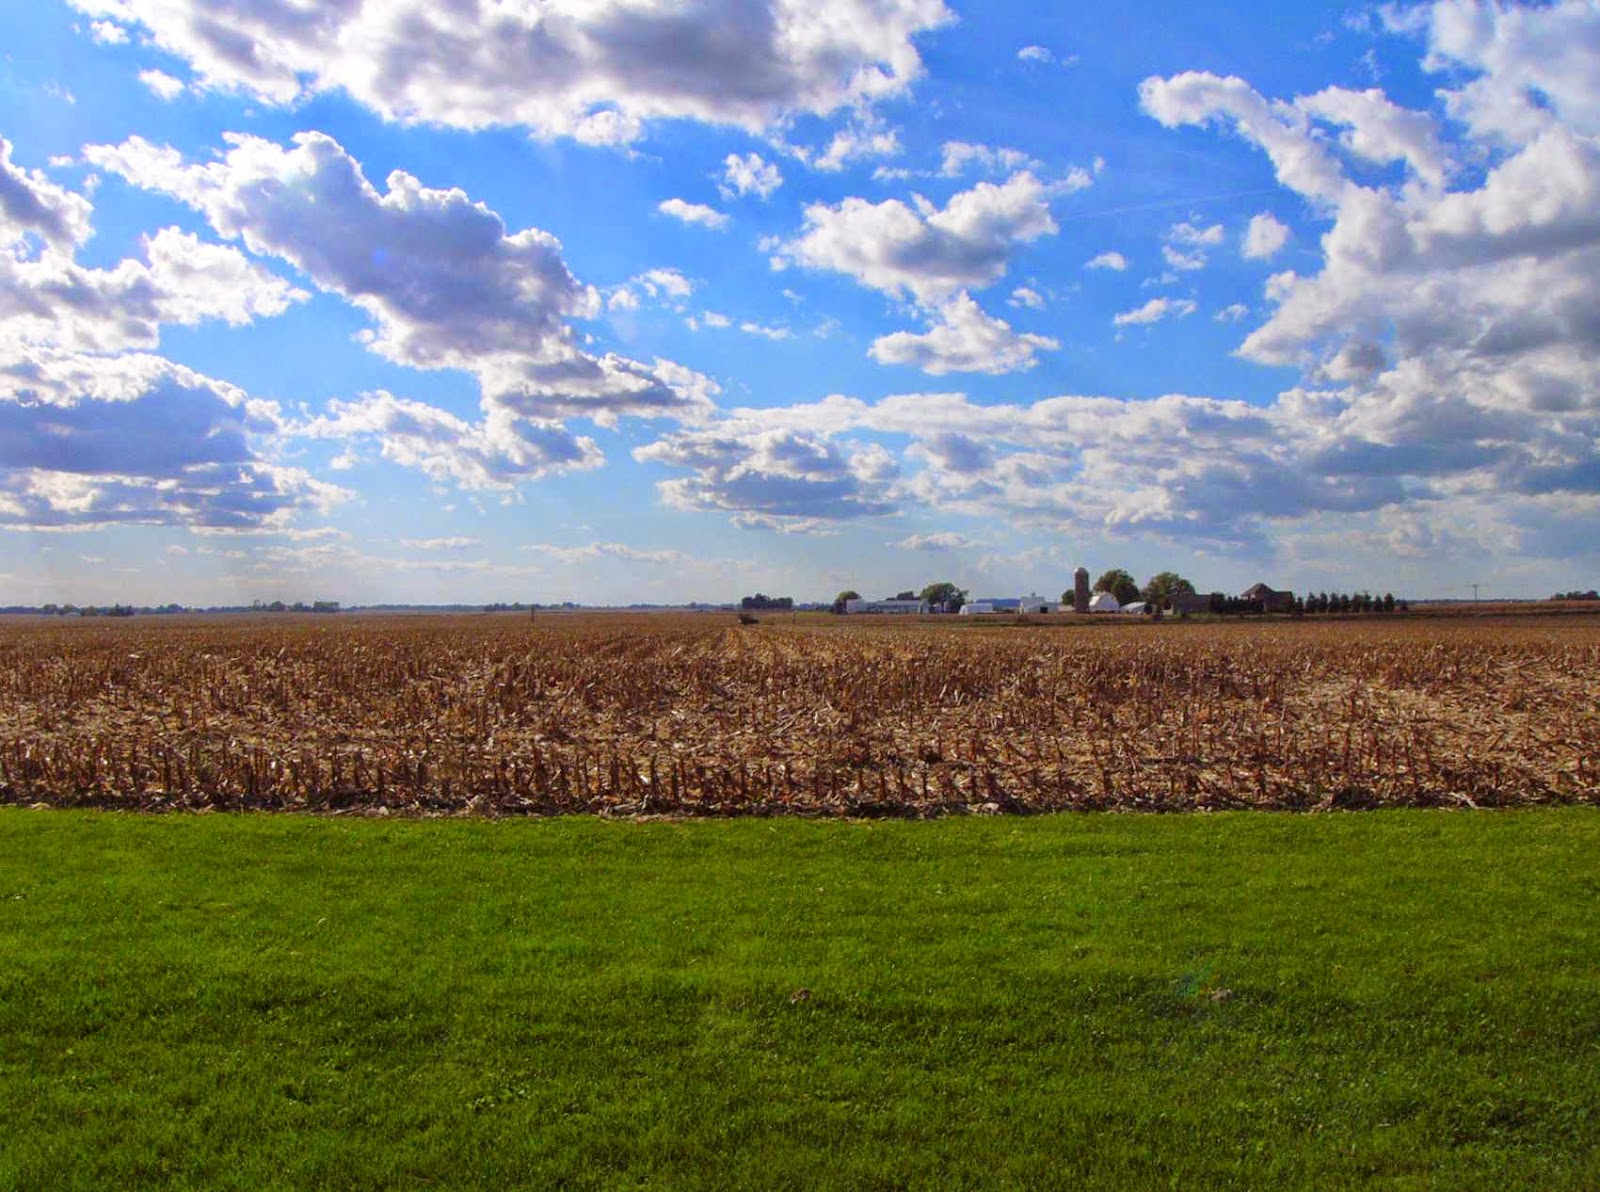
Corn in the backyard, 2014 -- Harvest!

Farmer Wagenbach harvested this year's crop while I was at work on September 25, and this photo was taken a few days later.  No word yet on how the yield this year compared to other years, but to my amateur eye, I'd say it looked pretty good.  The crop was in the field for about 21 weeks, and experienced about 8% more growing degree days than normal this summer.  Our rainfall was also noticeably above average, which seemed to do more good than harm.

The 39 acres behind our house will now rest for about seven months until Farmer Wagenbach plants the crop of 2015.  Make sure to check back next spring for all the details!

Friday, October 3, 2014

Corn in the backyard, 2014 -- weeks 17, 18, 19, and 20

August 31

Although the ears were showing indications of drying, the stalks and leaves seem to be late in drying out this year.  We had 45% more growing degree days in the week preceding this photo, which probably accelerating the maturing and drying processes.

September 7

Warm weather continued until this photo was taken, as the week accumulated 33% more growing degree days than typical, and the increase in plant drying was obvious.

September 14

Temperatures cooled significantly on September 11, and stayed below normal for eight days resulting in 84 growing degree days for the week compared to the normal 119.  The change in dried plant matter from the week before was subtle, but evident.

September 21

Even though the cool weather continued most of the week before these photos, the visible drying of the plants stands in stark contrast to the week before.  Growing degree days were only 80% of the normal total, but the crop seems close to harvest, and several neighbors have begun harvesting already.

Tuesday, September 23, 2014

Basement Remodel Project: Hanging Drywall

Have you ever noticed how a room can grow and shrink with each successive phase of a project? In this case, I believe mounting the drywall sheets to the walls of our basement made the rooms grow a bit.  Here are several photos at different stages of completion.

This image shows the south end of the family room early in the hanging process.

A closer view of the pantry closet and stair landing a little later, but not quite at the end.

The view to the north from the stairs shows the closets on the north end of the family room more clearly.  The pieces of drywall that don't match the majority are simply scraps left over from prior projects.

In this view of the family room closets, almost all the pieces were hung and waiting for the mudding to begin.

This is the view from the bedroom looking south into the family room.

Another view of the stairwell clearly showing drywall pieces in three different colors.

Wednesday, September 10, 2014

Corn in the backyard, 2014 -- weeks 13, 14, 15, and 16

 August 3

The biggest changes in the crop at this point in the summer are taking place behind the husk leaves of each ear as the kernels mature.

 August 10

The height of the stalk reached its maximum about four weeks before this photo, so our attention has been drawn to formation of the ears.

 August 17

I also watch for stalk and leaf drying since the plant typically dries as the kernels are drying.

 August 24

By the 16th week, some stalk drying was visible, but less than I expected.  Referencing photos from previous years convinced me that the drying rate at 16 weeks wasn't much different than most years.

 August 3

Zooming in on where the action is, the ears appeared close to full size on August 3, but weren't showing signs of drying yet.  Growing degree days were 11% fewer than normal for the week.

 August 10

Not much change in the appearance of the ears this week, and the number of growing degree days for the week was only one unit off the historical average.

 August 17

The week of August 17 showed more signs of stalk and ear drying even though growing degree days were 7% fewer than normal.

August 24

By week 16, some of the husk leaves were pulling away to reveal beautiful kernels beneath, but those that were visible were obviously not fully mature.  Unseasonably warm weather during that week produced 28% more heating degree days than average, and the plants appeared to accelerate their drying.  As long as there are plants in the field, we'll keep reporting more progress toward harvest!

Sunday, September 7, 2014

Basement Remodel Project: Framing Overview

You may have noticed in a previous photo that our basement has concrete blocks both on the outside walls and for the bearing wall separating the east and west sections.  The basement remodel project in our previous home convinced us that lining the exterior walls with 2x4 studs and insulating those walls made for a very comfortable space all year round.  This post details some of the framing and insulating necessary to define our new rooms.

This wide door opening leads to the guest bedroom at the north end of the space.  A five-foot wide french door will occupy that opening so the doors can be opened to allow natural light into the south family room from the largest window in the basement.  The two spaces on either side of the door opening are closets that open into the family room.  At the time of this photo, the framing and insulating were complete, and drywall panels were just moved to the basement and were ready to be hung.

The door at the far left is the one that was featured in a previous post and one can see the wood burner and the stone wall that defines that appliance's spot in the room just this side of the drywall collection.  I hope to include more details on the wood burner's new surroundings in a future post. The thickness of the block bearing wall is also apparent in the door opening.

The southeast corner of the family room is home to the electrical panel and a waste water pipe that runs down the exterior wall before going through it to the septic tank in the yard. I debated how to hide these two items while leaving them both accessible, so we opted to build this closet in the corner of the room to gain some storage just at the base of the stairs while providing the desired access.

In this photo one can also see the different strategy applied to the exterior walls of the stairwell. I wanted to minimize the space lost to insulation, so these walls received 1.5"x1.5" furring strips with 1.5" foam insulation in between.

This is how the southeast corner looked before demolition was complete, including framing around the sewage pipe that did not leave access to the clean out port. That and more was removed as part of the demolition.

This is the northeast corner of the space looking from the bedroom into the closet that's home to the sewage ejector pump for the bathroom just to the right of that pump.  This door opening was cut in during that bathroom addition project, and doesn't disrupt the bedroom space too badly.

Finally, a shot that's a bit blurry but gives one a good view of the family room from the stairwell. A lot had already happened by this point: framing, wiring, moving and adding lights, reconfiguring heat runs and returns, building a new masonry wall behind the wood burner, etc., but more was yet to be done.